Showing posts with label DIY. Show all posts

October 12, 2016

HERO ARTS BLOG HOP


Hello hello and welcome to the Hero Arts blog hop! I'm super excited to bring this fun blog post to you filled with all things planner and stamping! There are lots of new stamps in this release by Hero Arts and Kelly Purkey and I'll be giving you an overview of how I use them in this post. All of the stamps used here are available now in the Hero Arts store, which you can purchase here. And if you stay till the end, there'll even be a chance for you to win a little something something! So without further adieu, lets get to the fun part of using these stamps! I decided to use all of the Kelly Purkey Planner stamps in my Traveler's Notebook diary. I love love love that there's such a great variety of planner stamps that's suitable for anyone and everyone:


Here's an up close look:


Here's a list of all the stamps I used in this spread:
- Kelly's Everyday Sticky Notes
- Kelly's TV Planner
- Kelly's Winter Planner
- Kelly's Girl Talk Planner
- Kelly's Adventure Planner
- Kelly's Reading Planner
- Kelly's Shopping Planner
- Kelly's Take Note
- Kelly's Flags Stamp + Cut
- Kelly's Coffee and Donuts
- Kelly's Travel Day
- Kelly's Outdoor Inks
- Kelly's Urban Inks
- Kelly's Fashion Inks

And now to the most important bit! Hero Arts will be giving away three $25 shopping sprees drawn just from the comments left across all the blogs in this blog hop. Comment by Wednesday, October 19, 11:59PM PT and the winners will be announced next week!

Next on the hop is the amazingly talented Kari Stiles. Be sure to check out her blog as there'll definitely be more inspiration coming your way! You can also find the links to all the designers on the Hero Arts blog.

Thanks for stopping by!


June 24, 2016

MTN WEEKLY 2016 #12

I've been doing a lot of trialling this year, and none of them have really stuck; unfortunately this has included my MTN weekly. So until I pick something up again (and don't worry, it will be very soon), this will be my last MTN weekly post. I've included all the weeks of MTN spreads that I have done but haven't posted on my blog yet, though, so savour it while it lasts!

WEEK 12:


WEEK 13:


WEEK 14:


WEEK 15:


As usual, I've used everything and anything that fitted my spreads, from watercolour to stamps, to cool napkins found at work. There is no shortage of supplies when it comes to building up my MTN spreads.

Hope you've enjoyed my MTN weekly posts in the last few weeks and they've somewhat given you ideas in starting your own. Even though this is the end of my MTN weekly, be sure to stay tuned for upcoming projects!

June 5, 2016

TUTORIAL: CREATING A TRAVELER'S NOTEBOOK


Ok, before we start, to make things clear, this tutorial is mostly about stringing an already made notebook / passport / boarding pass holder. In this tutorial, I'm using a passport / boarding pass holder from a brand called Labrador and converting it into a MTN just because I know I wouldn't use it either wise. But before I get to it, here's a little background of the items used etc:

If you're like me, you like using original items. And when I mean original, I mean a Midori Traveler's Notebook and not a 'fauxdori'. I hate copies, and I have a strong dislike of handmade items (including my own). So when I got myself a leather boarding pass holder from Stickerrific, I had no plans to covert it to a traveler's notebook - not until I started playing with it today.

This boarding pass / passport holder is made from a brand called Labrador. I got it on the Malaysian Stickerrific site, and after coversion, it turned out to be around AU$80 - which is around the same price as a MTN kit. The only difference was - it has pockets. I wanted it in tan. but unfortunately, as they didn't have it in stock, I settled for a grey - which turned out to be a great choice.

Fast forward to a Sunday afternoon: I love my camel MTN, I really do, but the lure of pockets and the grey of the Labrador passport holder was enough to put me into my DIY mode. I had the strings and hardware needed to create a new TN, and all I really needed was to poke holes into the leather, so I thought why not? What could go wrong, after all?

So off to work I went. There really isn't much you need to create a TN style notebook if you already have one premade to size. If you have an extra MTN lying around (and chances are, you do), I'd recommend you using the holes already made as a template. Because that's basically the easiest thing you can do. Of course you need to measure it out eventually to make sure you're centered, but trust me, you'll take a whole load off if you just copy.

Anyway, here's a step-by-step method of how I went through making one (with pictures, of course!):
1- Get your stuff together: ruler, pencil, poker, needle, elastic, TN hardware

2- Measure / trace out the holes onto your new TN:


3- Poke holes through your marked areas. You'll need 4 holes, two at the top and two at the bottom

4- Thread through your elastic (probably the most difficult stage!):


5- Insert your hardware:


6- Tie a knot at the end:


That's really all you need to do. Here's a look at the end product (with two notebooks inserted):


The only fault I have with this is the weird placement of the pen holder. I am highly tempted to cut it off if only to reduce the bulk, but I think I'll just live with it for now. Apart from that, I'm currently obsessed with it. I never thought I'd replace my MTN with another - especially a home made one - but I love it to the nth degree. You should give it a go if you have the chance. I promise, you wont regret it!

May 2, 2016

MTN WEEKLY 2016 #10

I had a number of things to document this week with a whole lot of happy mail coming through, but I was limited with the little space I had, so only kept it to the main items. The biggest happy mail I received this week was from Stickerrific which contained a whole bunch of washi tapes, stamps, stickers, and my new Camel MTN. I couldn't get it all in, but stickers I received were pasted in asap. This week, however, also saw me making some mistakes in the spread, like trying out Muji instore stamps with weak ink, and glue stains that didn't come off. But I powered through, and in the end, it didn't really end up so badly. It could've been better but I'm going to look forward to the next week and hope these mistakes won't happen again! For now, here's a look into my spread:


I think I need to learn to embrace white spaces and stop trying to fill in every little nook in my spread because although it looks super, it can look overcrowded at times!

March 13, 2016

MTN WEEKLY 2016 #3


So I decided to keep on with my vintage feel MTN spreads. I must admit, I do still have to up the decorations without making it feel too messy though, as currently, all I see are words, words and more words (which isn't necessarily a bad thing, but I do prefer some ephemera / colour too!).

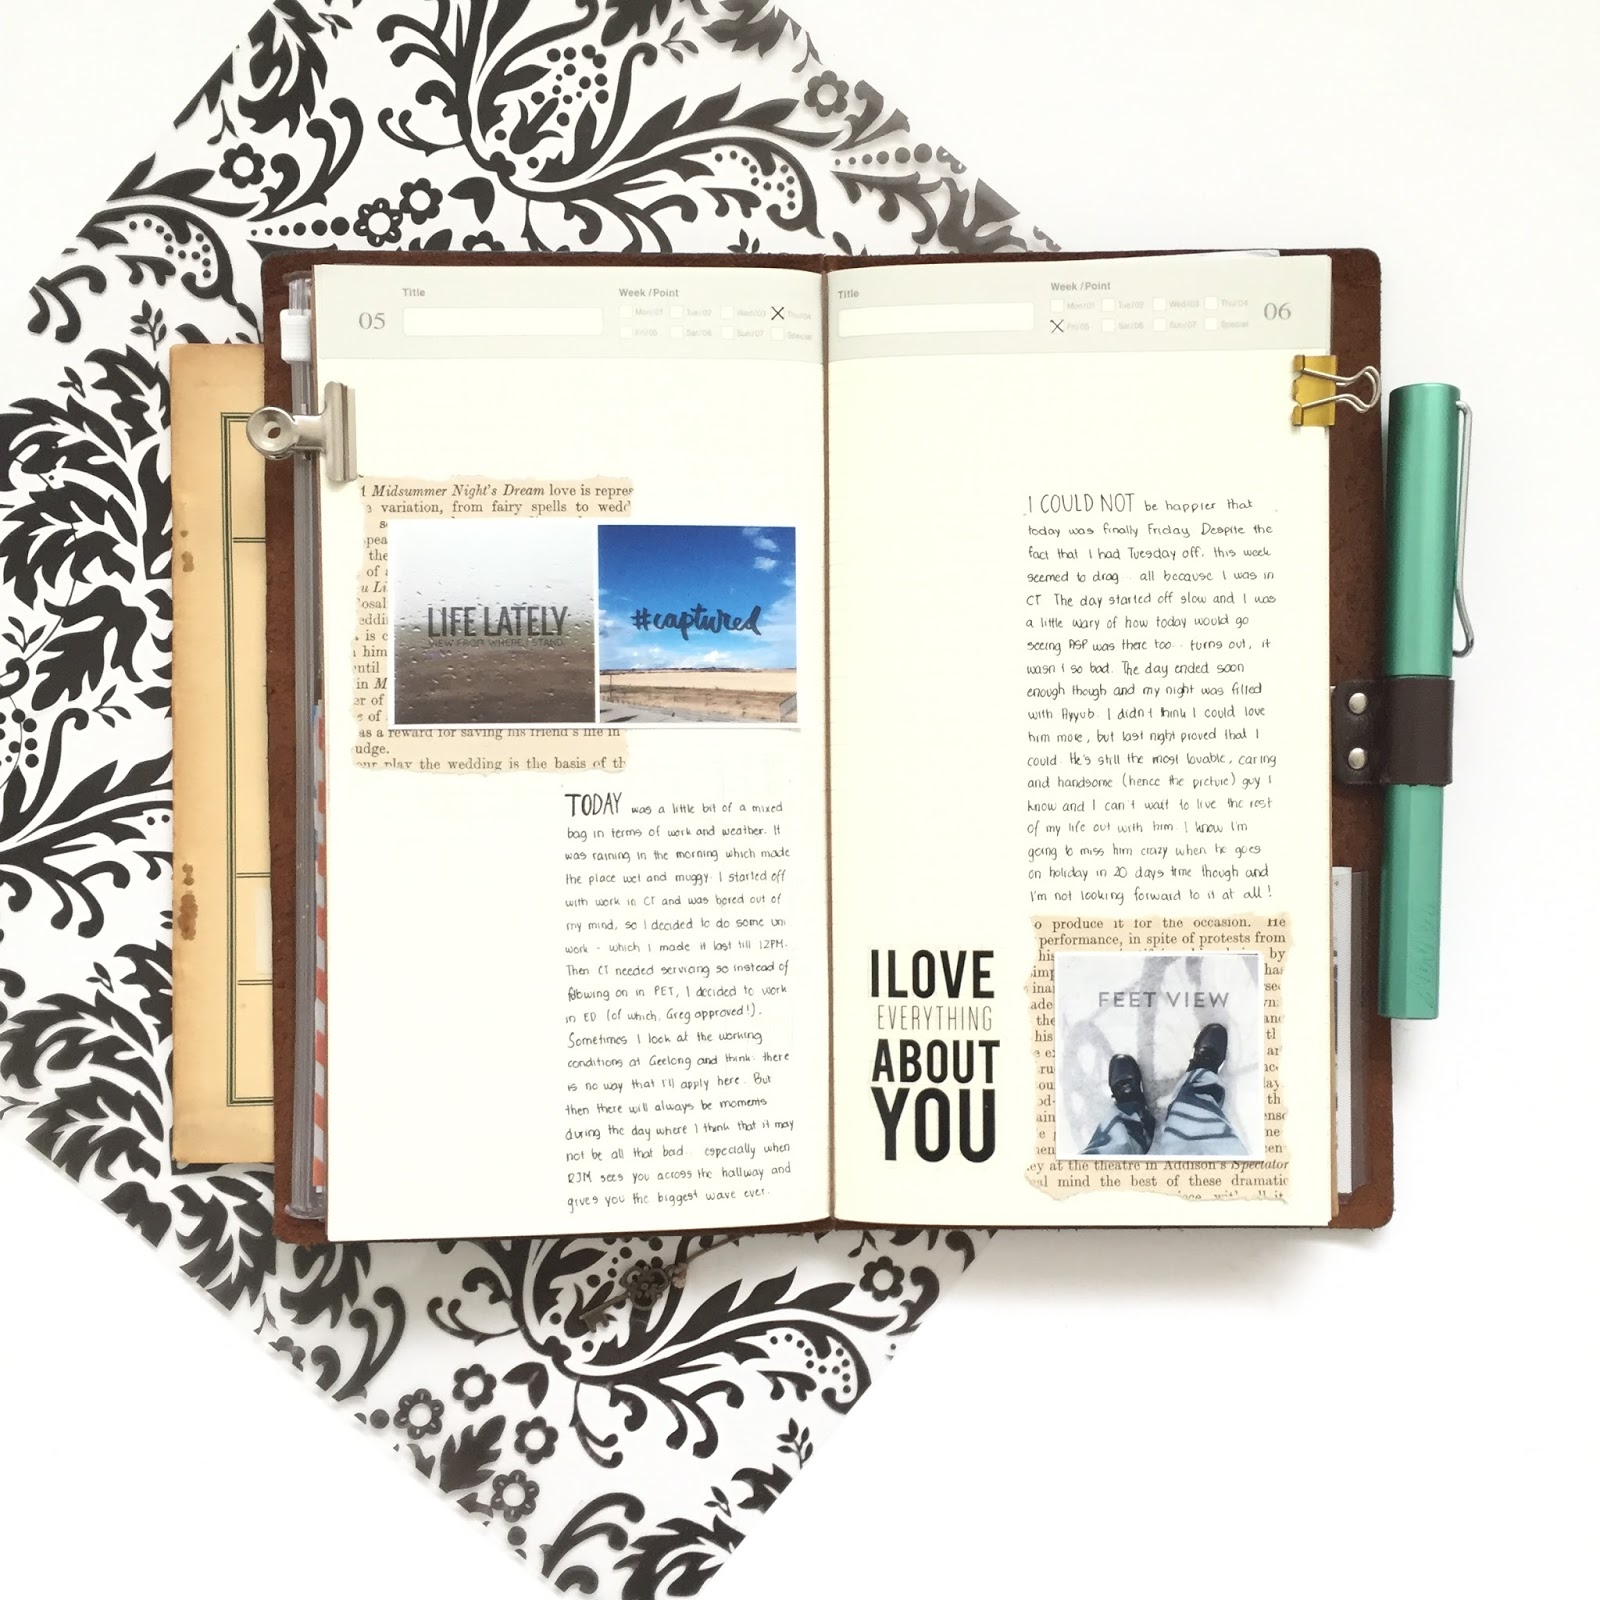
I've been practicing floral drawings recently, and so had to incorporate these into my spread. The drawn flower on the bottom left turned out better than I expected, and together with the torn book page, vellum and autumn watercolours by the side, I managed to pull together a complete page.

I've been utilising a number of my fountain pens since I received the Charged Green Lamy Al-Star from Notemaker, and love that every one of them holds a different ink colour. Ironically, the only colour I don't have fitted in those fountain pens is black.

February 28, 2016

MTN WEEKLY 2016 #2

Like last year's MTN weekly, I'm attempting to try out different layouts with each week. Last week was all about messy post-its (which I loved) which you can find here, but I've been looking at Instagram accounts like @greenpaperleaf and @thedailyroe recently and they've inspired me to take on a more vintage approach. I think I probably could have improved on the layout a little, but as I am still in the experimental stages, I'm not too fussed about it. Every bit has been a learning curve, about my pens, utensils and layout, so doing something was definitely better than doing nothing at all. Anyway, here's a look at my page:


And here's a little close-up:


I didn't use many embellishments in the layout and have focussed it primarily on penmanship (which needs improving!) to 'decorate' the spread. Apart from washi tape and stamps, the only other embellishment was a leaf I plucked from a trip to my local hardware store with my mum. It was super simple, but I must admit, it took me a while to decide how to fill the space. I guess I got there eventually!

January 26, 2016

SCRAPBOOKING IN MY MTN

I was hell bent into not creating an MTN scrapbook this year, because after all, I have my Hobonichi (which was meant to be documenting these things!). But my Hobonichi has now turned into an art journal more than anything else, and I haven't really felt the pull to print my photos out and stick them in there. So last afternoon, around 4pm, I was sitting in my room, looking at my stamp stack, seeing my unused printer and all my pictures not printed thinking, you know what, let's just start a 'no-commitment' MTN scrapbook.

When I say 'no-commitment', I mean documenting events I see fit to document whenever I want to. I used to document every week and then every day in my MTN, because it was really my only way to document my days. But now that I have a Project Life album, this scrapbook will be one that can see me scrapbooking as much as once a day, or as little as once a month. I'm trying to put no pressure on myself for these scrapbook layouts because I already have a hundred other projects that requires my daily / weekly attention.

Anyway, for this little project, I decided to use my kraft traveler's notebook. I haven't used a kraft notebook before and this will be a nice little challenge for me. I love how the colours pop while using kraft layouts, but am a little bummed that my yellow versamagic and Kaisercraft chalk inks barely show. I had to use my Yoobi chalk marker in order to make it more visible. The spread below showcases two different days with some journaling at the bottom. Again, I'm not trying to make this my new journal so I've kept my journaling to a limit. My full journal posts are hidden in my Hobonichi.


I used a variety of supplies for this spread from a number of different brands, including papers, inks, stamps and stencils from Kaisercraft (love the paper!), inks from Versamagic, stamps and dies from Kelly Purkey and Studio Calico, stickers from Sn@p, and washi tape from mt.

I love the empty spaces I've left out in this spread but because of it, find like this spread is missing something too (let me know if you think the same thing!). Either way, here's to a new beginning of scrapbooking in my MTN!

December 30, 2015

WEEK FIFTY-TWO IN MY MTN

I can't believe we've finally reached Week 52! This will therefore be my last post for the MTN weekly spreads for now, but a new adventure will be starting in the new year when I take on a day on a page in my brand spankin new A5 Hobonichi. But before we get to that, here's my last spread for the year:


My baby cousin visited us in the last week for a couple of days, so I decided to dedicate a little page to him. He has grown into a fine young man from the crying days (just don't tell him that), and it was actually pretty fun having him as my shopping partner during the Boxing Day sales happening in Australia.

In this spread, I used Crate Paper's Confetti collection for the stickers and patterned paper, and some black and white and glitter washi tape. Generic kraft tags and Kaisercraft stickers were also thrown into the mix.

And so, we've reached the end of the year! It's been a long journey and I'm glad that I've documented my life all in one place. I hope you've all enjoyed my MTN posts, and will be sticking around for some new and different projects that will be coming in the future!

xo

December 22, 2015

WEEK FIFTY-ONE IN MY MTN

The week was relatively quiet (in a sense) as most of my days were spent at home. The only day I was out was on Monday when I met my friend in the city, and for me, that's enough, as I managed to get a picture for this week's spread in my MTN.


Week 51 was simple, using Kikki K's Confetti paper pad (which is absolutely gorgeous), washi tape and some Kaisercraft stickers. My layouts are going downhill but you could say I'm just prepping for the upcoming 2016 projects that will be happening. Hah.

December 15, 2015

SUNSHINE

I think I start off by saying that I have no idea what I'm doing with my spread more times than I count, but I honestly don't more often than not! However, unlike last year where my decorations in my Malden depended on whatever my hand picks up, my 'inspiration' behind this month and next year's spreads will be coming from Kikki K's different clip arts each week. As this week's clip art was more of a beach theme, that's what my Malden was decorated with. This is how it turned out:


And a little close up:


The summer stickers were remnants from the Soleil collection by Basic Grey. Stamps included those from Ali Edwards, and the Reject Shop. The smaller kawaii stickers were from eBay and are basically included as the day passes.

December 14, 2015

WEEK FIFTY IN MY MTN

Last week was pretty quiet (in a sense). I didn't really have much going on during the week but on the weekend, I managed to attend my family friend's wedding, which thus became the inspiration behind this spread:


I didn't actually know what to do for it initially, so I went online to check out some wedding layouts. I had some bits and pieces lying around like a silver vellum paper, kraft paper and some embossing folders, so off they went into the spread.

It was nice and simple and together with Kaisercraft's XO stickers, and washi tape from Typo, I managed to put together a spread in no time. I particularly love the embossed kraft paper that I made using Maggie Holmes' Open Book embossing folder. I really should use these things more often!

December 7, 2015

WOODLAND COTTAGE

It's been a while since I've done a planner set up post, I know, but I just didn't feel like making my planner pretty recently. As December is now here, I was able to use thenew 2016 Kikki K inserts that came with my cute watermelon planner. It has cream paper and lines that aren't as pronounced as it was last year. Not to mention, it has cute little designs for each week. I was thinking of keeping it rather simple next year, aka, no decorations, but I must admit, I couldn't resist. So here's a little look into it:


The main embellishments for this spread came from Australia's very own The Reject Shop. It had a great number of embellishments and there were two of each design, which was perfect really. It even had gold foil on some embellishments, and I'm pretty sure I only payed $3 or so for it. Really great value for money. I was stuck after I decorated the edges with flowers, so I decided to throw in other random bits like stamps from Kelly Purkey / Aldi, stickers from Kaisercraft, hand-made cork letters using my Bigshot and bunting washi tape from mt. And that's about it really. I'm sure it'll look a little bit more complete once I add things to it during the week. But for now, this will have to do

December 5, 2015

WEEK FORTY-NINE IN MY MTN

It seems like my ideas for layouts are dimming, if that can actually happen. I found myself staring at the page for a while before I decided to just get into things. I looked back at my November daily pages, and decided to go with a previous design, with just a bit of tweaking. I must admit, the size of my photos were probably the main cause of my craft-block, but I'm happy with how things worked out in the end:


Here's a close up:


I started the layout by first putting down some washi. The denim style thicker washi was from Little B I got from Officeworks (they were on clearance for just $1 a roll!). The thinner washi was from mt. I put down some paint splatter ink stamps next (they never get old), more washi tape (green and blue washi tape from Kaisercraft) then just added little stickers from Kaisercraft. The cork alphabets were made using my Bigshot machine - no need to buy overpriced alpha cork stickers, just make them yourself!

December 4, 2015

MTN DAILY NOVEMBER: PART IV

So here comes the last of my daily November MTN posts. I actually can't believe I made it through a whole month, and without falling too much behind! I was planning to go ahead with a December daily MTN but with 99% of my days being spent at home now that I'm off work, I'm thinking the days will be very much dull to document. So I've decided to put my MTN daily aside and keep it for next year's November - it'll be interesting to see how things have changed a year later. Anyway, if you've missed the previous MTN daily November posts, you can check part I here, part II here, and part III here. Now here comes part IV:

21st and 22nd November:

I admit, these two days were the quietest. It was the first weekend I had away from work. I had been working 7 days straight from Saturday to Friday the week after and I just needed a break to do what I wanted. So I did just that. I spent the entire weekend catching up on my MTN pages and just doing crafty stuff, and it was great.

23rd and 24th November:


This week was the start of my last week of internship. It was fairly interesting mentally as I managed to spend some time working with my tutor. It was going to be my last time working at Geelong as well, so when the weather was nice, I went down to the beach for some amazing last shots of it. Sad that the weather wasn't this beautiful when I was staying over there during my evening shifts though! For these two days, I used Amy Tangerine paper and Crate Paper summer stickers as summer really is almost here!

25th and 26th November:


These two days were fairly simple; I let the photos dominate the spreads, and the colours did bring the pages to life. I got some Maccas choc waffle cone during a lunch break on Wednesday as it was a fairly hot day and use more Amy Tangerine paper. My high school best friend visited me in Melbourne on Thursday and it was filled with food food and more food, as you can see..

27th and 28th November:


The last day of my internship was on Friday which also began my new adventure of Adobe Illustrator. As I said in my previous post, Adobe was having a little sale on subscription prices, and since I knew I was going to have quite a lot of free time in December, I knew it was time to buckle down and learn how to use Illustrator. The larger alpha stamps are from Studio Calico and the smaller stamps from Kelly Purkey.

29th and 30th November:


And finally, the last two days of November: I procrastinated over these last two spreads as I've been busy playing with Adobe. I wanted to make it simple, so I used some Heidi Swapp ephemera on one page and stamps from Aldi for the other. It was a nice way to end the month and my month's project!

And that's a wrap for November!

November 25, 2015

WEEK FORTY-SEVEN IN MY MTN

It was a pretty colourful week, so I decided to integrate that into my MTN layout. I used Kaisercraft stamps from the Live Bright collection and inks from Versamagic.


And a little close up:


It was quite simple putting the layout together, and I love how colourful it all turned out (even if you can't really see it in picture). It probably is one of my favourite layouts in my weekly MTN

November 24, 2015

WEEK FORTY-SIX IN MY MTN

I didn't forget, I promise! I was just a little busy doing a seven day shift away from home that there was no time left for crafting, and I say better late than never!


This week was all about new Kaisercraft paper stock from the Geelong store and passing my driving test (hooray!). I still love geometric shapes on paper only because I can cut the shapes out to make a background. This week's blue layout matched my driving instructor's car and was simple to put together. I must admit, I was a little lost for embellishments as the only thing I had with me were a whole lot of stamps and a few sheets of stickers. But it worked and that's all that matters!

November 22, 2015

MTN DAILY NOVEMBER: PART III

Continuing on from previous parts of November (you can check out Part I here and Part II here), I had a fall back this week as I was away from home while I worked evening shifts. But nevertheless, when I was home, I ploughed through it all to get right back on track. And here they are:

11th and 12th November:


I must admit, I kinda had a block of ideas for this spread. I managed to snag the background for the 10th from an old layout I hadn't used, and decided to throw in an easy spread for the 11th using Project Life cards. I do find it a tad bit annoying that layering papers adds to the bulk of my notebook (I think it's just me), so I'm aiming to skim the layering for the next few layouts.

13th and 14th November:


Simple minimalist designs were for the next two pages. I used Amy Tangerine rub-ons for the background of the 12th and just one stamp by Ali Edwards on the 13th.

15th and 16th November:


Using my idea from my last Tsum Tsum post, I added a little bit more stickers from Kaisercraft to create a layout for the 14th of November.

17th and 18th November:


This black and white spread was just something simple I wanted to throw together. I'm actually surprised with the amount of the layouts I managed to put together this weekend. I guess I'm embracing the simplicity and minimising the umm and ahhs when it comes to doing my layouts!

19th and 20th November:


Last spread of the post: I quite liked this spread (especially the 20th). I used an idea I had previously and improved on it with stamps from Aldi.

Hope you've enjoyed viewing my layouts. Till next time!

November 12, 2015

MTN DAILY NOVEMBER: PART II

Instead of posting my MTN daily entries every single day (which can be quite monotonous and tedious), I've decided to clump my entries into little parts. This part will show case days from the 3rd to the 10th of November:

3rd of November:


5th and 6th of November:


Sometimes a layout doesn't need to hold a hundred different layers of papers and embellishments. Sometimes a layout just needs some paper from a novel, a picture and written words to make it all complete. And to be honest, I quite love this layout more than I imagined I would.

7th and 8th of November:


I decided to experiment using a Faber-Castell brush Pitt pen on the 7th to write up the quote that seems to be stuck on my mind that day. I wrote the letters out by pencil first to know how the placement of words would go before outlining it in pen. It turned out better than I expected and I'll definitely be putting more of those in the future!

9th and 10th of November:


I decided to focus on using stamps these two days. They were feeling a little neglected and the Pooh Bear photo basically called for the use of paint splatter stamps and washi tape. I'm loving putting together simple pages like these as it doesn't require much time and it allows me to journal more than I ever could on my week-to-a-page diary,

And that's a wrap for this part of November! Stay tuned for Part III!