
In summary though, here are the deets:
Printing: Canon Selphy CP910, Big W printing kiosks
Apps: Collect Photo, Project Life, Canon iEPP
For those that still has no clue as to what the above details suggest, let me start from the beginning:
When it comes to printing my photos, I use my trusty little Canon Selphy CP910 for a number of reasons. For one, the print quality is surprisingly amazing for the price. And for another, it's portable, small and pretty reliable. This is how it looks like:


The ink and paper comes together in a pack, and the more you buy, the cheaper it is. In Australia, I managed to get 108 printing paper and three ink sets for $44.95 from Ted's Cameras. Not too bad, if you ask me. I got my little printer in May and have only managed to finish 1 ink cartridge for possible 36 over sheets of printing paper. The paper is made especially for the printer and comes in a variety of sizes. Mine is just the usual 6x4" which is versatile enough for me. I can always use Apps to create different sized photos based on a 6x4" grid after all
However, my in-house printing with my Canon Selphy usually only happens when I need to print the odd one or two pictures. When I require much larger scale printing, I use Big W (Australian) printing kiosks. Their prints are always reliable, sharp and glossy. But before we get to the printing, we need to set our pictures up into those cute little tiny squares that fit perfectly in your own traveler's notebook.
We first need to start off by having photos (duh!). Once you've done that, download the Collect Photo app from the Apple store (not too sure if this is available on Android, sorry guys!). To make things a little easier, I've uploaded a screenshot of all my photography editing tools as you can see here:

Once you've got all your apps in order, go ahead and open up the Collect Photo app. You can start uploading your photos in the order of dates and once you've got them all in, you'll see a nice completed month like you do with mine:

I was writing this post up in September, but as you can see, a tonne of work has only made this post available in October. Hah! Anyway, once you've got all your pictures in, you've got to export them. So go to the top right, and where the little box with an arrow coming out of it is, tap on it to see this screen:

Go to Export Photos next and you'll get this:

Select the dates you want to export, and EXPORT! You can choose where you want to export your photos to, but I tend to just export them to my Photo Library so I can upload them into my Canon Selphy app:

You're now all done here. You've got perfect little square photos ready to be printed on your Canon Selphy. Now, the next step involves uploading them onto the Project Life app purely so that I can place two pictures on a 6x4" paper. You can use any collage app you want, but this is how I do what I do.
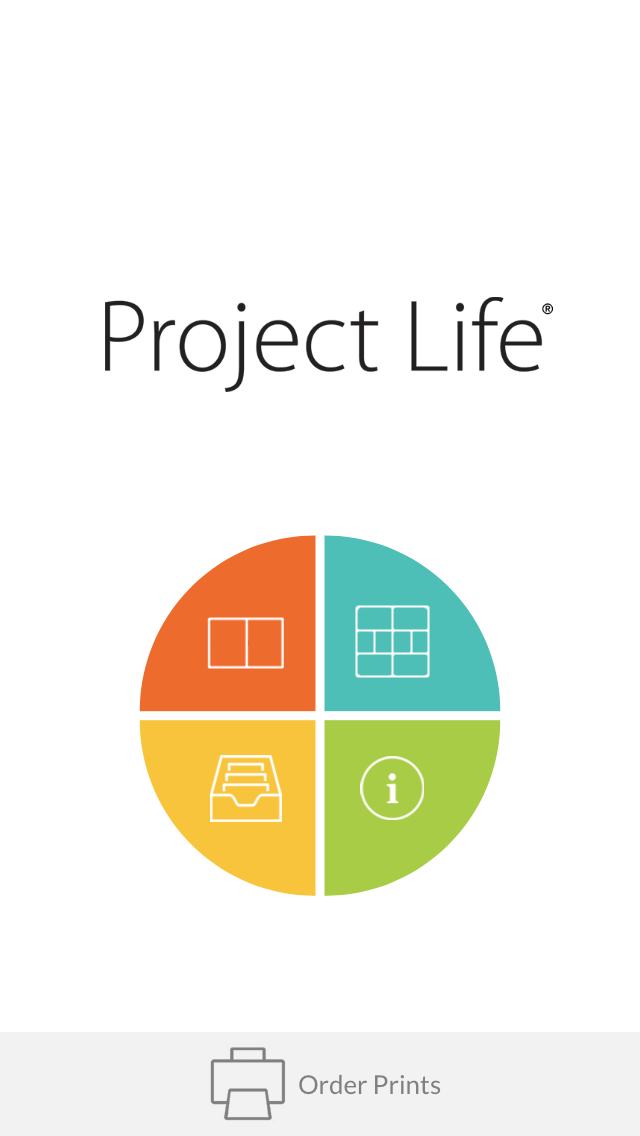
Once you've got your Project Life app downloaded, you'll get this opening screen:
Select the horizontal 6x4" layout that has been separated into two:

Add your Collect Photo app photos into the grid, download them and boom, now you're ready for the printing!


Now, remember the screenshot of all my photography apps? It's time to refer back to that, because the Canon Selphy app is in fact called Canon iEPP. Click on that to open your app up and you'll see this:

Click on Photo Albums so that you can choose your Project Life photo that was filled with Collect Photo app photos (that was totally not confusing, right?):

Now the next bit is important. In order to print approx 2 x 2" photos, you'll need to have a BORDERED setting selected. To print approx 3 x 3" photos, you'll need to have UNBORDERED selected. Got it? Great

And of course, lastly, all you have to do next is print! If you're using your Canon Selphy for the first time, you will have to set up your wifi connection with your phone. Read the manual they provide for this because that's just a whole lot of instructions I can't do right now!
And that's it! Hope this somewhat helps those of you curious as to how I get those tiny perfect little square pictures on my Midori spreads!
This is brilliant, thanks for taking the time to do it!
ReplyDeleteThanks, it has been driving me crazy trying to figure out how to get square photos!
ReplyDelete